
From Stage to Studio
Ideas for enhancing a live recording back in the studio, from tending to vocal or instrument errors to fattening drums and more
If you’re looking to take a break from the studio routine, you might consider bringing your songs and recording equipment to a suitable music venue in order to capture the spontaneous energy of a live gig. Naturally, there are all kinds of challenges when attempting to cut band tracks in real time, from poor room acoustics and spontaneously malfunctioning equipment to problems with tuning, tempo, and so on.
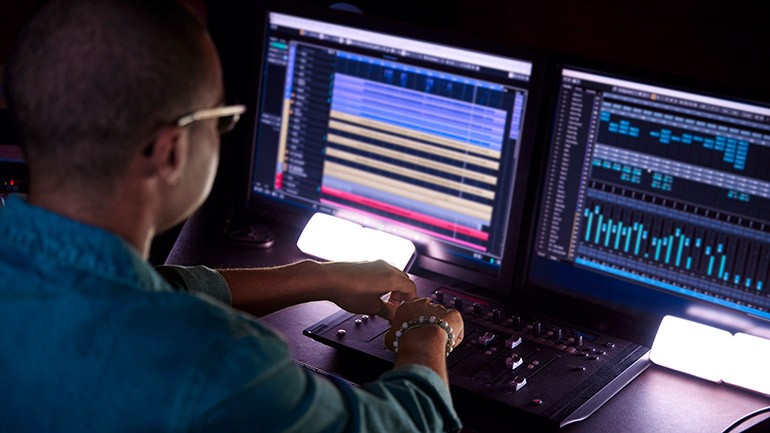
Still, a properly prepped multitrack on the right night can be indispensable, particularly when paired with HD video of the performance. Here are some thoughts for getting everything down once the lights are up, including how to discreetly repair or redo errant vocal or instrument parts, fatten drums, plus other suggestions.
Setting up. For starters, choose a good space. Smaller venues with ample sound absorption often work best for recording, as do outdoor stages that take the room out of the equation altogether. Though you may not normally put certain instruments through a PA when doing a regular gig, when making a live recording, everything needs to be miked up or direct-connected, including all vocals, guitar and bass cabs, as well as the drum kit (using at least an overhead and a bass-drum mic). Because they are lower gain and directional, dynamic microphones like Shure SM57s, 58s or similar models excel at warding off live leakage from nearby instruments, but also require that singers stay up close at all times or risk having annoying volume drops throughout the performance.
Sometimes a club might offer a digital multitrack copy of the live mix, which can be easily accessed via microSD card or thumb drive. Though convenient, these “board mixes” are generally comprised of pre-fade signals, i.e., without any of the added compression, equalization or other processing fed to the out-front speakers. If the mixer wasn’t specifically set up to record, audio levels are likely to be uneven due to the different gain positions used during the show. And unless otherwise specified, all sounds would be from the stage only, leaving the audience—and the ambience—out of the picture.
While you can adjust track volume and apply some processing later on, if you’ve gone to the trouble of recording in a live environment, make it sound that way—always include at least one “distant” microphone that can be adjusted at will when making your mix. A pair of condenser mics is preferable, each situated on tall boom stands and placed on either side of the space near the back. (Be aware that natural delay begins to occur the further you are from the sound source, so not too far back.)
Fixing or augmenting background vocals. As many of us have experienced, onstage vocal performances can be easily hampered by insufficient monitor volume, or being situated too close to drums or instrument amplifiers. To fix any pitch, phrasing or other vocal miscues, you could either copy and paste an identical part from elsewhere in the song, or redo the offending section as a studio punch-in. Even when there are no obvious errors, you can add a little heft by recording a second set of backgrounds and then carefully blend with the existing part (or about two-thirds of the live take to one-third studio overdub).
For that matter, just about any live passage can be isolated and repaired/redone in the studio, though some more easily than others. Direct-connected tracks such as acoustic guitar, piano or bass typically make the best replacement candidates, as they are free of interference from other stage sounds. By comparison, a lead vocal is likely to have some instrument leakage on the track, thereby making studio punch-ins more noticeable. Your best bet is to tend to the truly egregious mistakes and let the smaller flubs slide.
Adding the “glue.” Even when using some spatial mics for ambience, you may find that the overall mix seems flat, or you’re having a hard time getting the vocals properly situated. Often the cure is to simply juice the track using a compressor/limiter on a light setting (just enough to “glue” the track together, as too much effect will introduce an audible “pumping” sound). If the track still feels too arid, consider adding a smidge of reverb or, better yet, adjust the volume of the distant mics to increase the amount of natural “wet” signal.
Remember that the ultimate goal is to make the best possible recording of a well-played live set (ideally before a roomful of enthusiastic concertgoers). Above all, spend ample time beforehand polishing the songs, setting the guitar tones, selecting keyboard patches, tuning the drums or taking any other steps to ensure you’ll have a solid set of tracks to work with once you get back home.


Community
Connect with BMI & Professional Songwriters