
Fit the Mood With Good Acoustics
Tips for cutting through or anchoring the mix with your axe
In an earlier article (“Recording Acoustic Guitar Tracks”), we looked at some of the oft-used approaches to capturing acoustic guitar in the studio, from choosing the right mic, to using compression and other processing. Like nearly everything in the recording arts there’s always new ground to cover, so here we offer some additional (and perhaps less obvious) ideas for getting the effect that fits the feel of the song—from using the right mic technique (and the right guitar) to achieve a grittier sound, to blending different guitar voicings for some extra-textured acoustic tracks, and more.
The Right Spot
Though it may seem obvious, finding the optimal environment for your guitar is a good place to start. In general slightly larger and/or livelier rooms, including those with hard surfaces (such as wood paneling or flooring), work well with acoustic instruments; if the guitar seems to project a bit better in one part of the room, hang your mics there (if for no other reason than you’re likely to get a better performance if it “feels” right). If your space lacks resonance due to excess sound absorption (i.e, carpeted floors, etc.) or it’s just very small in size, try adding something reflective such as a piece of plywood or plastic carpet protector under your chair, or suspend a makeshift wood baffle directly in front of you.
Up Front or In the Mix?
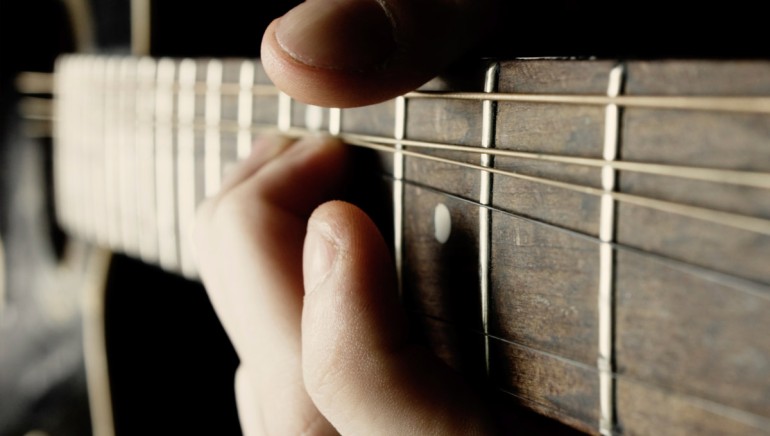
Will the acoustic guitar be the featured instrument in the song, or mainly used to anchor the backing track? It’s an important distinction, one that not only dictates the type of miking arrangement, but perhaps even the kind of guitar you’re using. In many classic pop tunes the acoustic plays more of a supporting role, and is therefore typically “felt” rather than heard (the Beatles used this recording approach to great effect, as heard on tracks like “Can’t Buy Me Love,” “Eight Days a Week,” even “Lucy in the Sky With Diamonds”). Even so, capturing that distinctive rhythmic timbre requires skill and instinct. Start by backing off the mic a bit in order to reduce the bass tonality associated with the up-close “proximity effect”; to achieve a “flatter” frequency response better suited for rhythm work, consider using a cheaper dynamic microphone in place of the fuller-sounding, more sensitive condenser. Lowering a guitar’s action (by reducing the height of the saddle and/or slightly adjusting the truss rod) can produce a more “percussive” feel and sound; you could also try different strumming techniques such as using your thumb or fingernails instead of a pick, experiment with different pick gauges, and so on.
While top-shelf dreadnaughts are typically the benchmark for achieving studio-quality acoustic sound, sometimes a cheaper axe makes a better choice, particularly for rock rhythm recordings. Though it sounds downright phenomenal on record, the acoustic used on the majority of Beatles tracks was a relatively humble Gibson J-160e, its laminated top and inexpensive ladder bracing resulting in reduced volume and minimal bass—which, as it turns out, was just right for the job.
Extra Texture
While it’s generally preferable to keep things uncluttered, sometimes a production can benefit from a more “layered” acoustic-guitar sound. Try recording a number of different overdubs, some similar sounding, others slightly modified (as mentioned in our previous piece, you can alter the guitar’s voicing using a capo in various positions up the neck, or experiment with drop tunings). If possible, adding other types of guitars—12-string, nylon string, even unamplified electric—will provide even more tonal variety. When mixing, bring the various parts up on the faders, randomly unmuting different combinations of guitars until you hear a group that seems to have the best overall sound and texture.
Basic Takes
On the other hand, maybe all the song requires is just one guitar and one voice (or perhaps two of each). In this case, the best results are often achieved when recording the vocals live with the guitar, rather than as an overdub. Though it sounds simple enough, there are still a few technical considerations, such as the need to control excess leakage between guitar and vocal to ensure each track is properly “focused” when mixing. While there are various approaches to this set up, I’ve had decent results using a large-diaphragm condenser for the vocal (placed as close to the singer as possible), with a very directional mic pointed downward toward the guitar—in this case even a simple dynamic (such as a Shure SM57 or reasonable facsimile) will suffice, since the modicum of “good” leakage into the hotter condenser will help round out the sound (particularly when a limiter is used on the vocal mic). When recording a second guitarist and vocalist simultaneously, use the same miking technique, but have the two players face each other in order to minimize cross leakage.
There are other techniques you can try as well. For instance, increasing the record speed and playing the part faster in a higher key, then returning the track to normal at playback, can yield interesting results (particularly when overdubbing). You can also experiment by placing the guitars in different positions in the stereo field—while protocol dictates hard left and hard right for guitar pairs, for example, you can simply use your ears and your pan knobs to find a balance that suits the mood.


Community
Connect with BMI & Professional Songwriters